
Campervan Curtains
Introduction
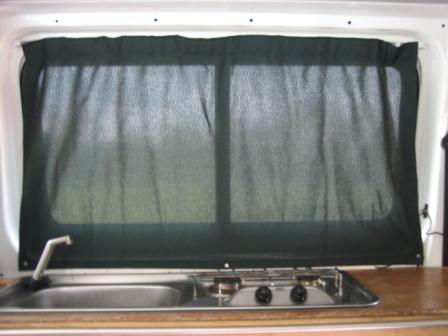 Curtains give a nice finish to a converted camper van. The main benefit is they provide an easy, quick way to give you some privacy.
They block out light, although how effectively depends on the material and they do provide some limited heat retention. Internal curtains can also be used to divide up the space in your van e.g. between the cab and the rear seating.
We think curtains work best as a cosmetic finish in conjunction with Window Insulation Mats, as these block out light and retain heat more effectively as well as stopping condensation that would otherwise make your curtains wet overnight. We stock Cab Window Mats and Kits for the back windows. It's also well worth considering installing framed windows as these have integrated blinds and fly screens - thus eliminating the need for curtains at all.
Buying
You can buy curtains ready made by taking the dimensions to a curtain maker. While it seems a bit excessive to pay for ready made squares of material, if you are set on a really top notch finish and are after heavy duty curtains e.g. lined or made of blackout material and have a lot for fiddly window shapes paying for them is probably for you.
Making
Making your own campervan curtains is relatively easy. Adapting an existing set of curtains can be a super-easy way to get what you are after. Curtains are a fairly simple shape so it can also be pretty straightforward to make them yourself from scratch, especially if you are combining them with the insulation mats and a just looking for them to provide simple, quick window cover.
You'll Need:
- A normal domestic sewing machine
- Reasonably strong thread cotton or polyester
- Curtain material (thickness and design will depend on your needs and tastes!!) You may also want this double sided so your van looks good on both the inside and outside)
- Header tape
- Curtain rail, runners (including hooks) and end stops
Costs are minimal. Curtain material can be anything from free for old material or curtains you have lying around to purpose bought material.
 Measure the campervan windows and give yourself a decent overlap, in particular at the bottom to make sure the windows are completely covered.
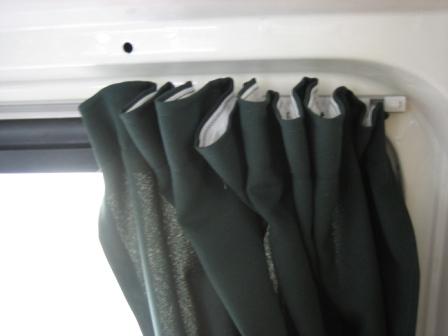
Remember if you pull in the header tape, to give the pleated effect common to the top of most house curtains it will shorten the width.
Cut out your curtain material. Hem round all four sides and sew your header tape into the top. Remember if the material has a front and back which side you want to be visible in the van and which outside.
Questions
Q: How can I fix the curtains out of the way?
A: There is no 'right' answer here it depends what works - In factory made conversions metal poppers are often fixed onto the frame of the van and the curtains clipped in (both to close and to hold them back when open). Many people use simple tie backs - cord held onto the sides of the window by little strips of rubber matting glued with impact adhesive. Not necessarily pretty but functional.


